Easy Crochet Pumpkin Pattern
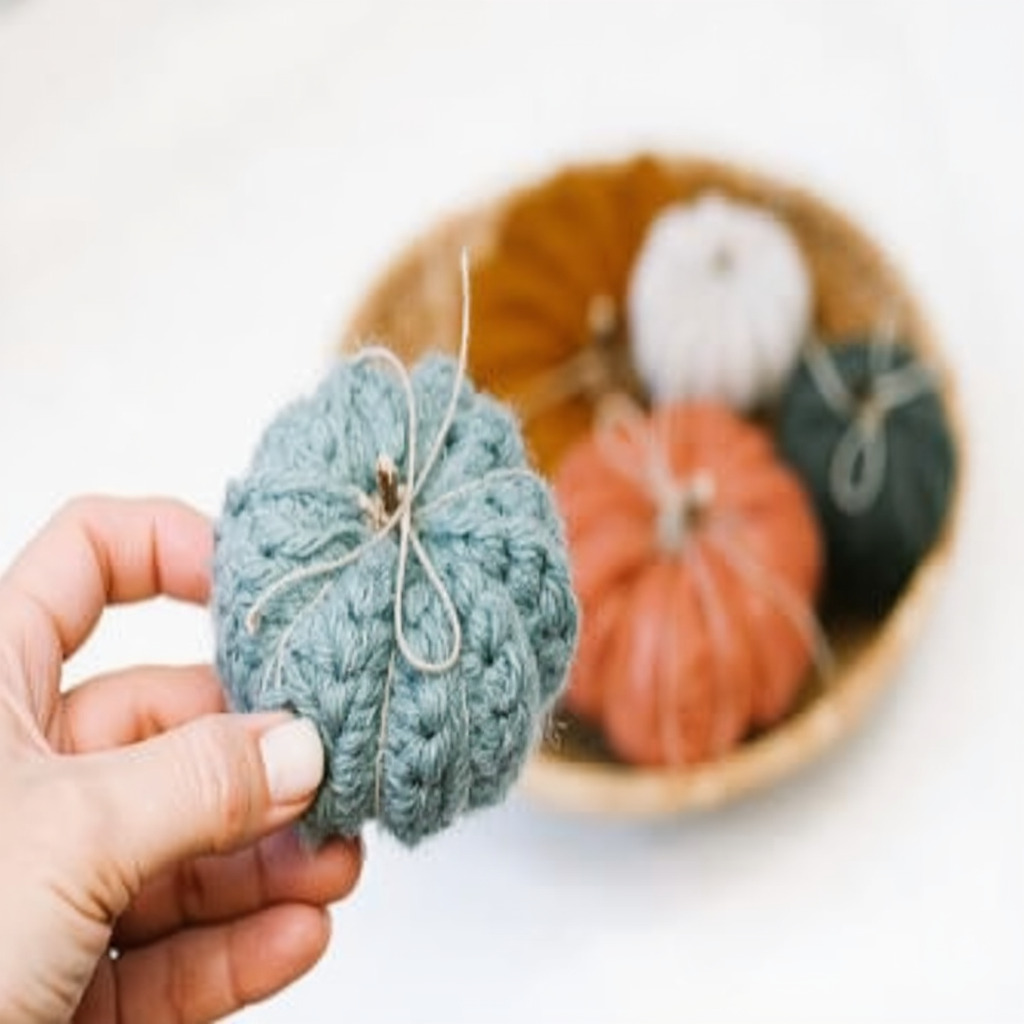
This medium crochet pumpkin is a delightful project that brings the joy of fall into your home. With its rich orange color and charming leaves, it’s perfect for decoration.
Materials Needed
- 2 ounces worsted weight yarn in Orange, scraps of green and brown
- US G6/4.00 mm crochet hook
- Fiberfill stuffing
- Stitch marker (optional)
- Floral wire
- Tapestry needle and scissors
- Wire cutters (if using floral wire)
Abbreviations
- ch = chain stitch
- sc = single crochet
- sc 2 tog = single crochet 2 stitches together
- dc = double crochet
- sl st = slip stitch
- st = stitch(es)
Pattern Instructions
Make a magic ring
R1: 8 sc into ring (8 sts).
R2: 2sc in ea st around (16 st)
R3: *sc in next st, 2sc in next st, repeat from * around (24 st)
R4: *sc in next 2 st, 2sc in next st, repeat from * around (32 st)
R5: *sc in next 3 st, 2 sc in next st, repeat from * around (40 st)
R6: *sc in next 4 st, 2 sc in next st, repeat from * around (48 st)
R7: *sc in next 5 st, 2 sc in next st, repeat from * around (56 st)
R8-16: sc around (56 st)
R17: *sc in next 5 st, sc 2 tog, repeat from * around (48 st)
R18: *sc in next 4 st, sc 2 tog, repeat from * around (40 st)
R19: *sc in next 3 st, sc 2 tog, repeat from * around (32 st)
R20: *sc in next 2 st, sc 2 tog, repeat from * around (24 st)
R21: *sc in next st, sc 2 tog, repeat from * around (16 st)
Stuff
R22: sc 2 tog around (8 st)
Fasten off, leaving a long yarn tail for sewing segments. Stuff the pumpkin. Thread yarn needle with the long tail of yarn and pull yarn to gather up and to close the small hole opening. To get the perfect pumpkin shape, the sections are wrapped around the outside with yarn. Keeping the yarn in the tapestry needle, wrap yarn over and around pumpkin to starting point to divide pumpkin in half. Pull tight and knot at center. Now divide in half again to form 4 equal sections, wrapping the yarn up and around. Loop under the knot you made and tighten it up. Knot whenever you feel like you need to hold the yarn and the end of a wrap. Divide the pumpkin 2 more times to have a total of 8 sections. Knot securely at center and finish off, using the darning needle to hide the tail inside the pumpkin.
Pumpkin Stem and Leaves
Pumpkin Stem:
With brown yarn, make a magic ring
R1: 8 sc into ring (8 sts).
R2-5: sc around. At end of last round, slip stitch to next stitch and finish off, leaving a long strand for sewing. Stuff.

Pumpkin Leaves:
With green yarn, *Chain 8 and join to form ring. R1 in the ring just made work all of the following: ch 2, 6 dc, ch 3, sl st to 1st ch, 6 dc, ch 2, sl st.* One leaf made. Do NOT fasten off. Repeat from * to * to make a 2nd leaf. Fasten off, leaving a long strand for sewing. Using a tapestry needle, sew the leaf and stem in place on top of the pumpkin.
Tendril
Wind floral wire several times around a pen to create a spiral. Cut end. Bend one end and wedge underneath the stem on one side. You may use a touch of hot glue to secure if needed.

Finishing Touches
At this point, you can choose which side of your crochet pumpkin to show as the top and which as the bottom. Enjoy your beautiful creation!