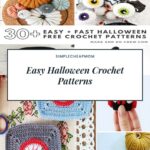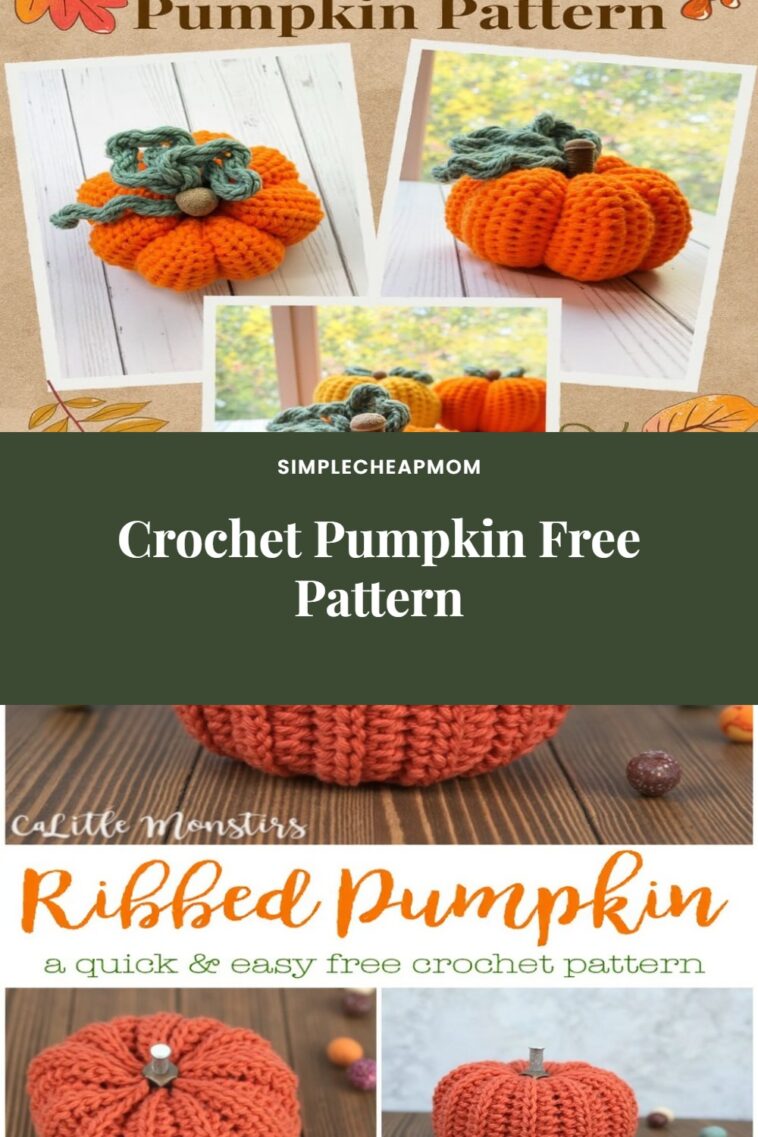
Crochet Pumpkin Free Pattern
Learn how to make an adorable and realistic crochet pumpkin with this step-by-step free crochet pattern and tutorial!
Supplies Needed
- Worsted weight acrylic yarn in orange and green
- 5.5 mm hook (for pumpkin)
- 4.25 mm hook (for stem)
- Poly-Fil stuffing
- Scissors
- Yarn needle
Stitches You’ll Need to Know
- Half double crochet (hdc)
- Chain (ch)
- Slip stitch (sl st)
- Single crochet (sc)
- Magic ring or magic circle
- Running stitch

Pattern Abbreviations
- st(s) – stitch(es)
- ch – chain
- sl st – slip stitch
- sc – single crochet
- hdc – half double crochet
- inc – increase (make 2 sc in the same stitch)
- BLO – work in back loop only
Instructions
Main Pumpkin Body
- Foundation Row: Hold two strands of orange yarn together and attach it to your 5.5 mm hook with a slip knot. Ch 27 times.
- Row 1: Hdc in 2nd ch from hook and rest of ch down the row, ch 1, turn. (26 sts)
- Row 2: Hdc in the BLO of each st, ch 1, turn. Repeat for Rows 3-32.
- Fold the rectangle together, matching up the short sides. Sl st the two short sides together.
- Cinch up the bottom of the pumpkin and stuff it with Poly-Fil.
- Cinch up the top of the pumpkin and set aside.
Making the Stem
- Using the green yarn and smaller hook, make a magic loop and sc 6 times inside the loop.
- Inc in each sc around (12 sts).
- Ch 10 times, sc in 2nd ch from hook and next 8 sc.
- Continue working in BLO and sl st to finish the stem.
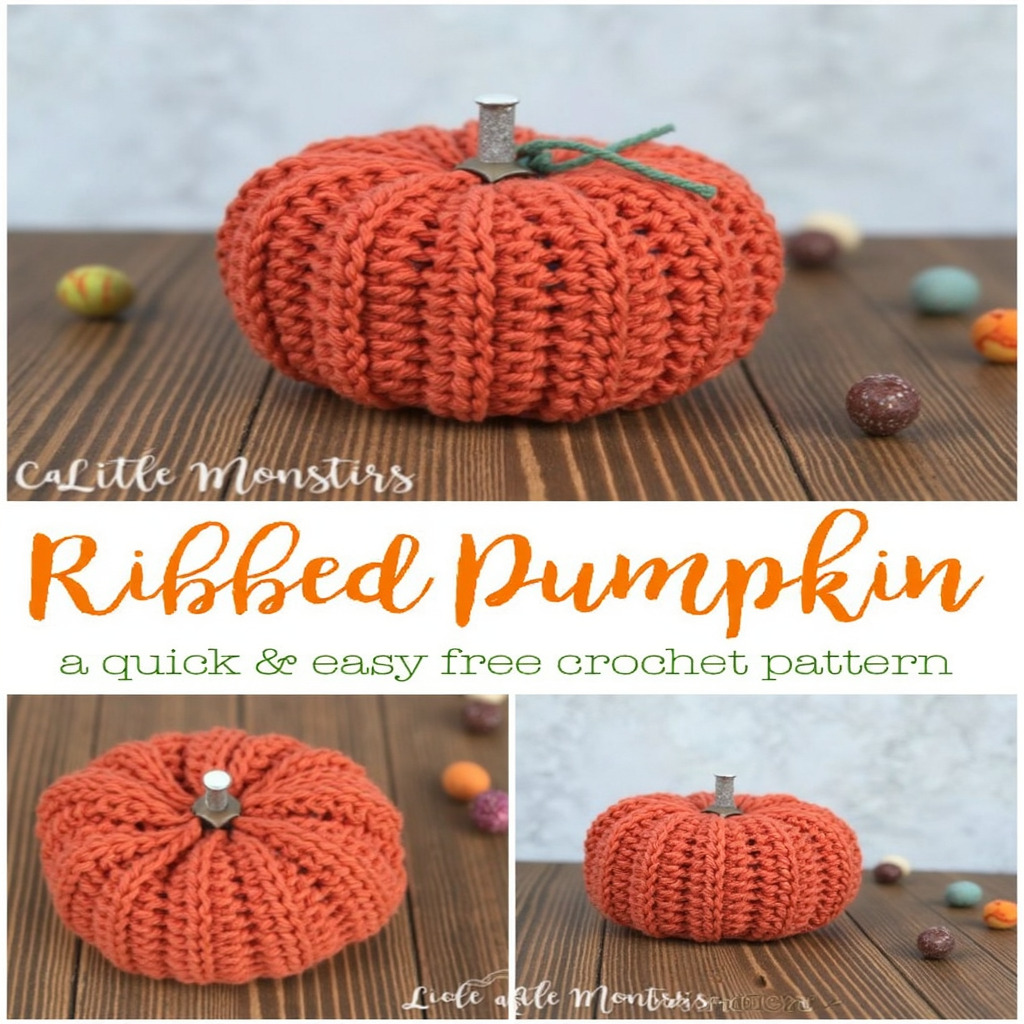
Finishing the Pumpkin
- Add more stuffing to the pumpkin and cinch the top closed.
- Create ridges by inserting a needle through the bottom and wrapping yarn around the outside.
- Attach the stem to the top of the pumpkin using a whip stitch.
For a complete visual guide, check out the video tutorial linked in the original source.