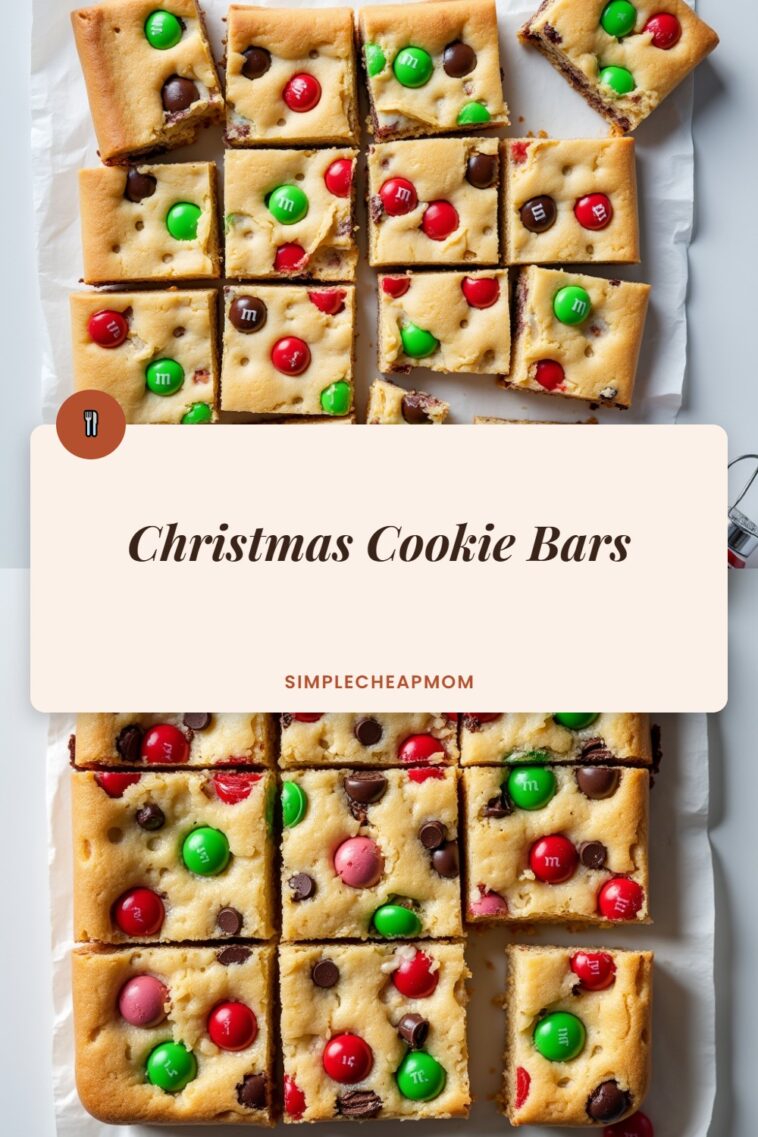
Christmas Cookie Bars
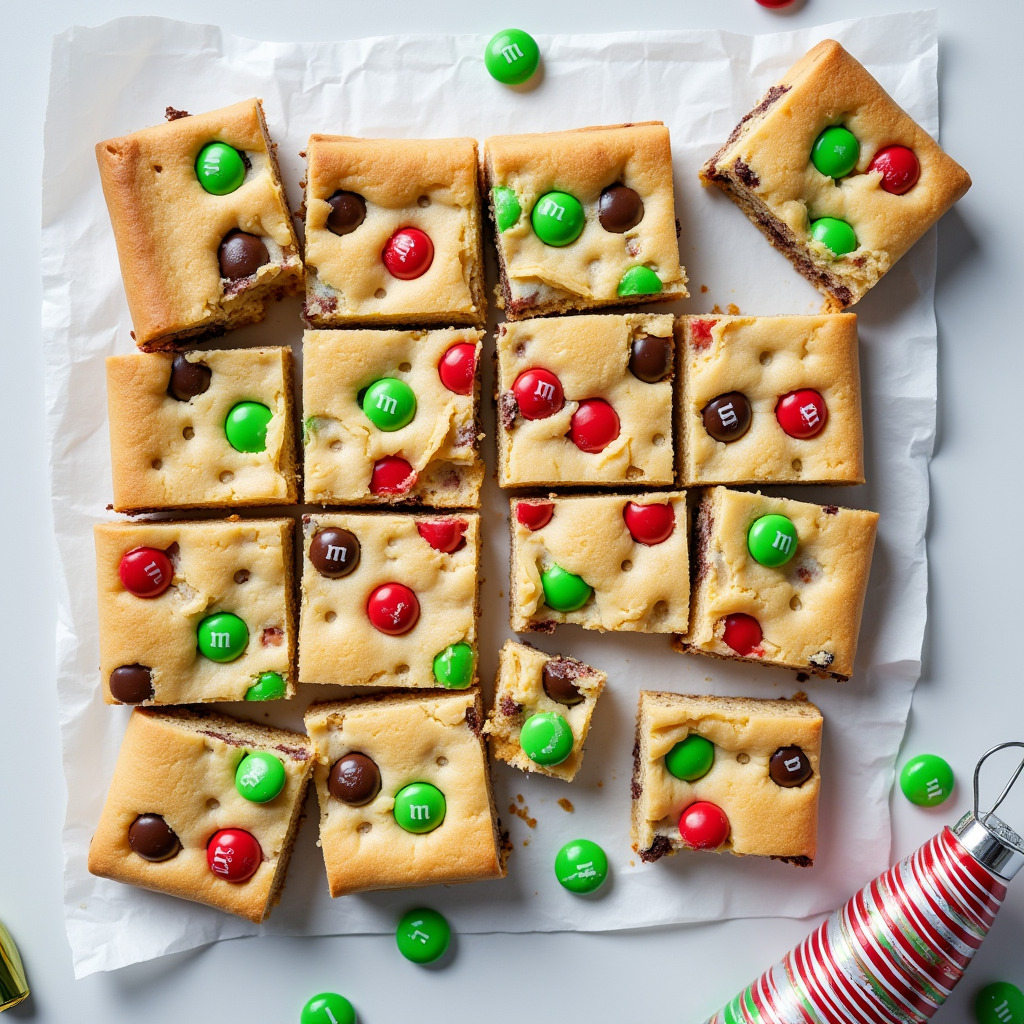
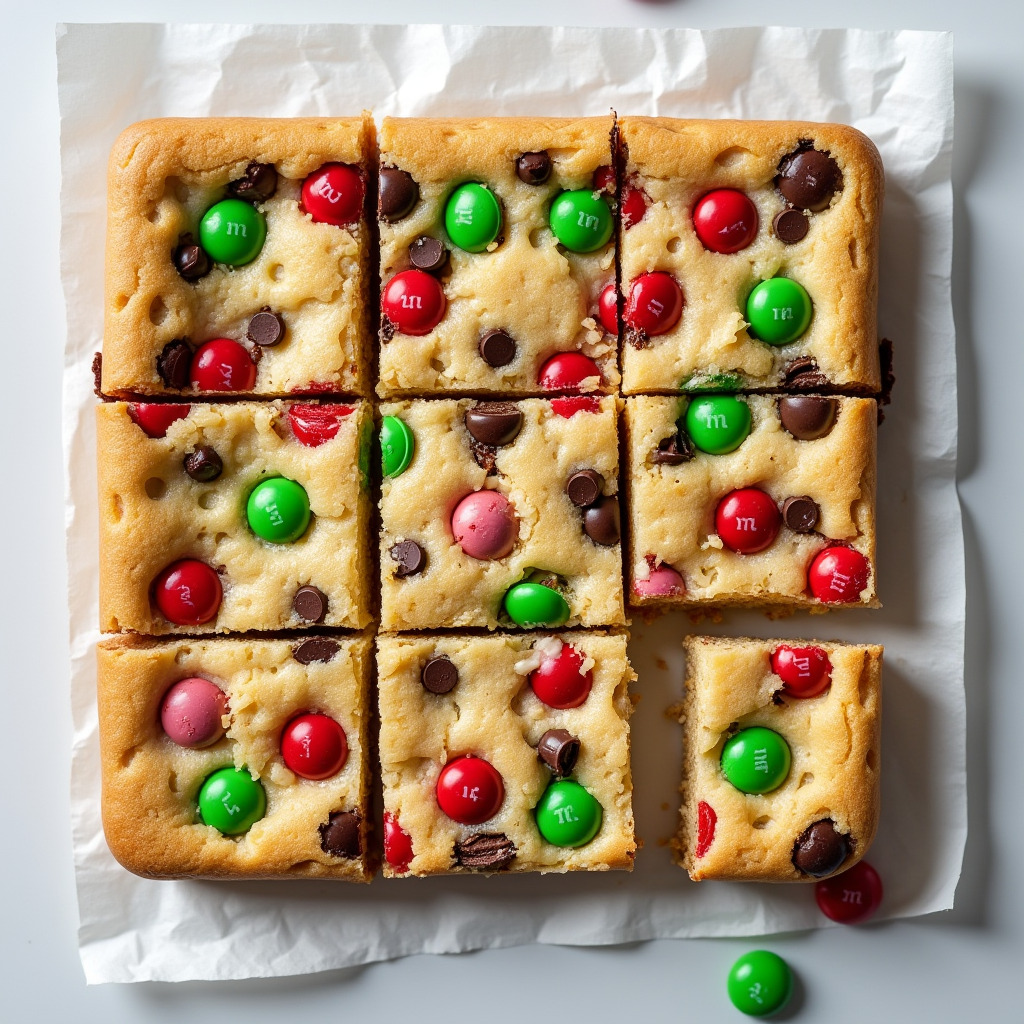
These Chewy Holiday M&M Cookie Bars are a festive treat that perfectly capture the spirit of the season. With a buttery cookie base and an abundance of colorful M&M candies, these bars are not only easy to prepare but also a delightful addition to any holiday gathering. The combination of chewy texture and sweet chocolate makes them irresistible!
What sets these cookie bars apart is their simplicity and the vibrant colors from the M&Ms, making them visually appealing as well as delicious. They are perfect for sharing with friends and family or for enjoying as a sweet treat during the holiday season.
Why you’ll love it
- Quick and Easy: With just 10 minutes of prep time, these bars come together quickly, allowing you to spend more time enjoying the festivities.
- Chewy Texture: The combination of melted butter and sugars creates a chewy, satisfying texture that pairs perfectly with the crunchy M&Ms.
- Customizable: You can easily switch up the M&M colors to match any holiday or occasion, making these bars versatile for year-round enjoyment.
- Perfect for Sharing: Yielding 24 bars, they are ideal for parties, potlucks, or simply sharing with loved ones.
- Kid-Friendly: The colorful M&Ms make these cookie bars a hit with kids, making them a fun baking project to do together.
Ingredients and Substitutions
To make these delicious Christmas Cookie Bars, you will need the following ingredients:
- 1 cup unsalted butter, melted: This provides richness and moisture to the bars. You can substitute with margarine, but the flavor will differ slightly.
- 1 cup granulated sugar: This sweetens the bars and helps achieve a nice texture.
- 1/2 cup brown sugar, packed: Brown sugar adds depth and a hint of caramel flavor.
- 1 large egg: The egg binds the ingredients together. For an egg substitute, you can use 1/4 cup unsweetened applesauce.
- 1 teaspoon vanilla extract: This enhances the overall flavor. Use pure vanilla extract for the best taste.
- 2 cups all-purpose flour: Essential for structure. You can use a gluten-free flour blend if needed.
- 1 teaspoon baking powder: This helps the bars rise slightly.
- 1/2 teaspoon salt: Balances the sweetness.
- 1 cup M&M candies: These provide color and crunch. You can use holiday-themed M&Ms for a festive touch.
- 1/2 cup semi-sweet chocolate chips: Adds extra chocolatey goodness; you can substitute with milk chocolate or dark chocolate chips.
Step-by-Step Cooking Guide
- Preheat your oven to 350°F (175°C) and line a 9×13 inch baking pan with parchment paper. This ensures easy removal of the bars once baked.
- In a large bowl, mix together the melted butter, granulated sugar, and brown sugar until well combined. Make sure there are no lumps of sugar.
- Add the egg and vanilla extract to the butter mixture and mix until smooth. The mixture should be glossy and well incorporated.
- In another bowl, whisk together the flour, baking powder, and salt. This helps distribute the leavening agent evenly throughout the flour.
- Gradually add the dry ingredients to the wet ingredients, mixing until just combined. Be careful not to overmix, as this can lead to dense bars.
- Fold in the M&M candies and chocolate chips. Ensure they are evenly distributed throughout the dough.
- Spread the cookie dough evenly into the prepared baking pan, smoothing the top with a spatula.
- Bake in the preheated oven for 20-25 minutes, or until the edges are lightly golden and the center is set. The bars should not jiggle in the center.
- Allow the bars to cool completely in the pan before slicing into squares. This cooling time helps them firm up for easier cutting.
Practical Tips
To ensure your Christmas Cookie Bars turn out perfectly, keep the following tips in mind:
- Don’t Overmix: When combining the wet and dry ingredients, mix until just combined to keep the bars chewy.
- Check for Doneness: The bars should be golden around the edges and set in the center. A toothpick inserted should come out with a few moist crumbs, but not wet batter.
- Cool Completely: Allowing the bars to cool fully in the pan prevents them from falling apart when sliced.
Storage
Store any leftover cookie bars in an airtight container at room temperature for up to 5 days. For longer storage, you can refrigerate them, but note that this may alter their texture slightly.
Conclusion
These Christmas Cookie Bars are sure to bring joy to your holiday celebrations. Their chewy texture, vibrant M&Ms, and simple preparation make them a favorite for both kids and adults. Enjoy baking and sharing these delightful treats!
Chewy Holiday M&M Cookie Bars
These Chewy Holiday M&M Cookie Bars are a festive treat made with a buttery cookie base and loaded with colorful M&M candies. They are easy to prepare and perfect for holiday gatherings.
Ingredients
- ✓ 1 cup unsalted butter, melted
- ✓ 1 cup granulated sugar
- ✓ 1/2 cup brown sugar, packed
- ✓ 1 large egg
- ✓ 1 teaspoon vanilla extract
- ✓ 2 cups all-purpose flour
- ✓ 1 teaspoon baking powder
- ✓ 1/2 teaspoon salt
- ✓ 1 cup M&M candies
- ✓ 1/2 cup semi-sweet chocolate chips
Instructions
-
1
Preheat the oven to 350°F (175°C) and line a 9×13 inch baking pan with parchment paper.
-
2
In a large bowl, mix together the melted butter, granulated sugar, and brown sugar until well combined.
-
3
Add the egg and vanilla extract to the butter mixture and mix until smooth.
-
4
In another bowl, whisk together the flour, baking powder, and salt.
-
5
Gradually add the dry ingredients to the wet ingredients, mixing until just combined.
-
6
Fold in the M&M candies and chocolate chips.
-
7
Spread the cookie dough evenly into the prepared baking pan.
-
8
Bake in the preheated oven for 20-25 minutes, or until the edges are lightly golden and the center is set.
-
9
Allow the bars to cool completely in the pan before slicing into squares.